

Lamb makes a useful change from the chicken and fish ingredients that appear in many homemade cat treat recipes. For these baked slices, lean boneless lamb is the main ingredient, while a small amount of finely chopped green beans adds texture without making the mixture overly vegetable-heavy. A little egg helps hold everything together as the mixture bakes. The goal is a thin, tender preparation rather than a dry, crunchy meat biscuit. Spreading the mixture evenly and watching the edges carefully helps prevent overbaking. All the lamb must be thoroughly cooked, and every piece should be checked for bones or hard fragments before preparation. These treats are intended as occasional extras, not a replacement for a complete and balanced cat food.
Safety first: Keep treats and extras under about 10% of your cat's daily food - the regular diet should do the heavy lifting.
Foods to avoid
Never use lamb chops, rib pieces or other bone-in cuts without carefully removing all bones before preparation. Cooked bones can splinter and create serious hazards. Do not include onion, garlic, chives, leeks, salt, pepper, sauces, stock cubes or seasoning blends. Avoid fatty lamb trimmings, raw meat and undercooked centers. Green beans should be plain, thoroughly washed, cooked and finely chopped. Check the finished pieces for hard fragments before serving. This recipe is a supplementary treat and is not nutritionally complete.
Ingredients
Instructions
Prepare the Lamb and Green Beans: Preheat the oven to 160°C. Trim away visible excess fat from the boneless lamb and check carefully for any remaining bone fragments. Finely mince the lamb until it has an even, slightly sticky consistency. Wash and trim the green beans, then blanch them in plain boiling water for approximately 3 to 4 minutes until tender. Drain, cool and chop them into very small pieces. The beans should be small enough to distribute throughout the lamb without creating large vegetable chunks.
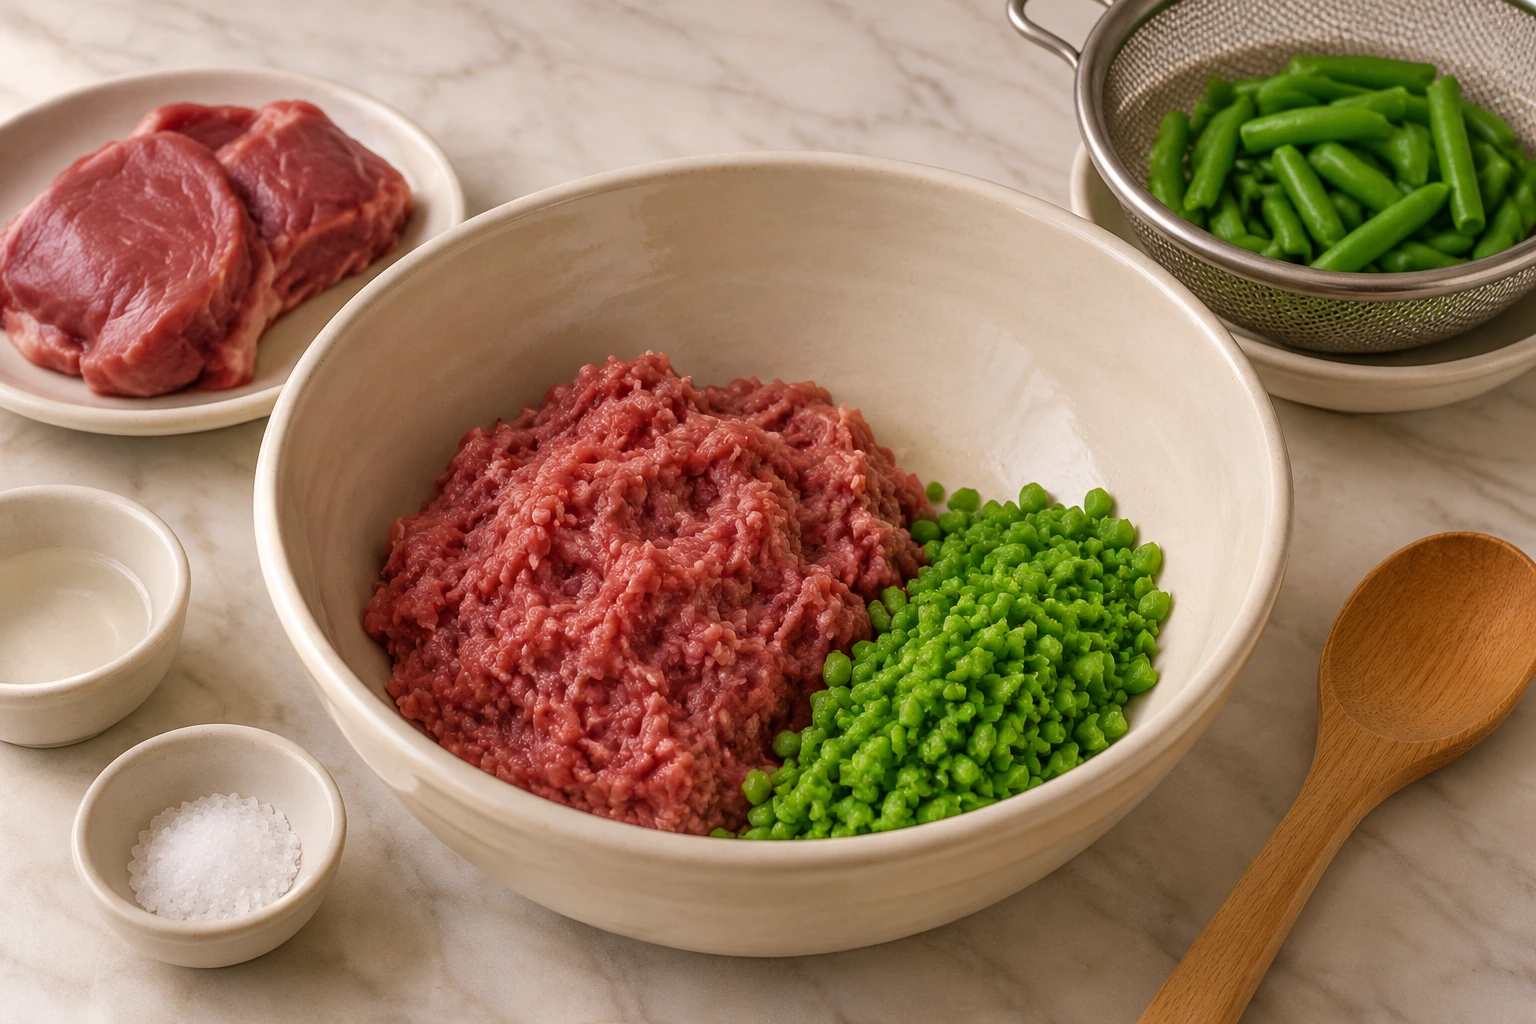
Mix the Treat Mixture: Place the minced lamb in a clean mixing bowl. Add the finely chopped green beans and beaten egg. Mix thoroughly with a fork or clean hands until the ingredients are evenly distributed. Add the tablespoon of plain water if the mixture feels too firm to spread. If a slightly firmer texture is preferred, mix in the optional teaspoon of oat flour. Avoid adding salt, seasoning, garlic, onion, stock or cooking oil. The mixture should remain moist and hold together when pressed, rather than becoming stiff or crumbly.
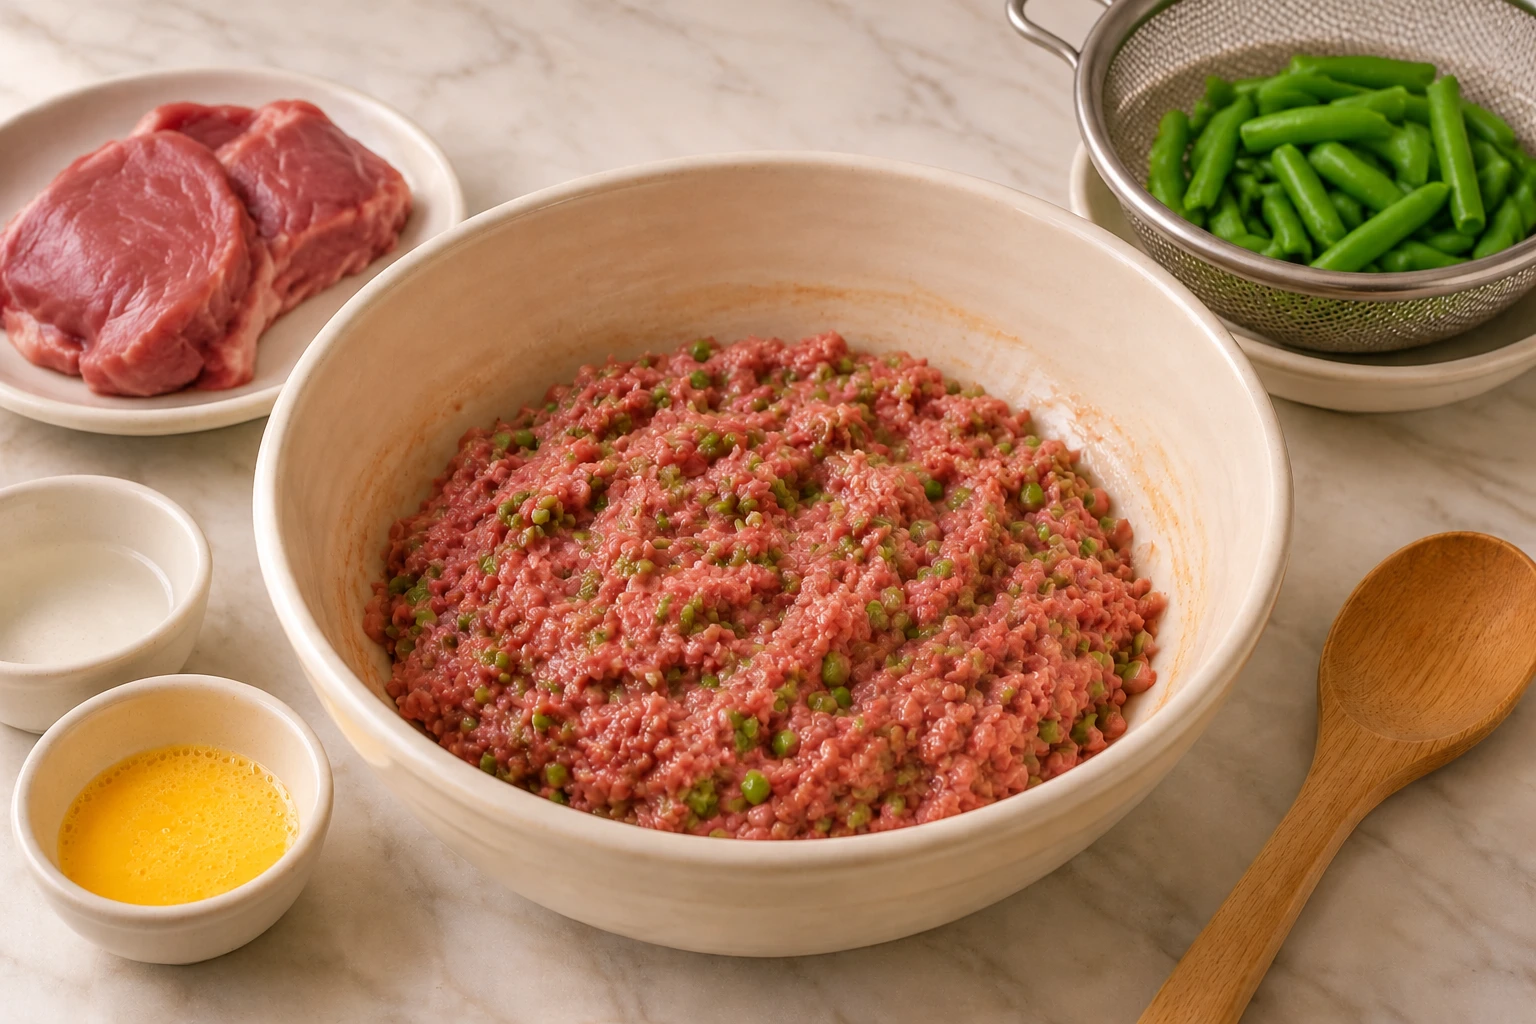
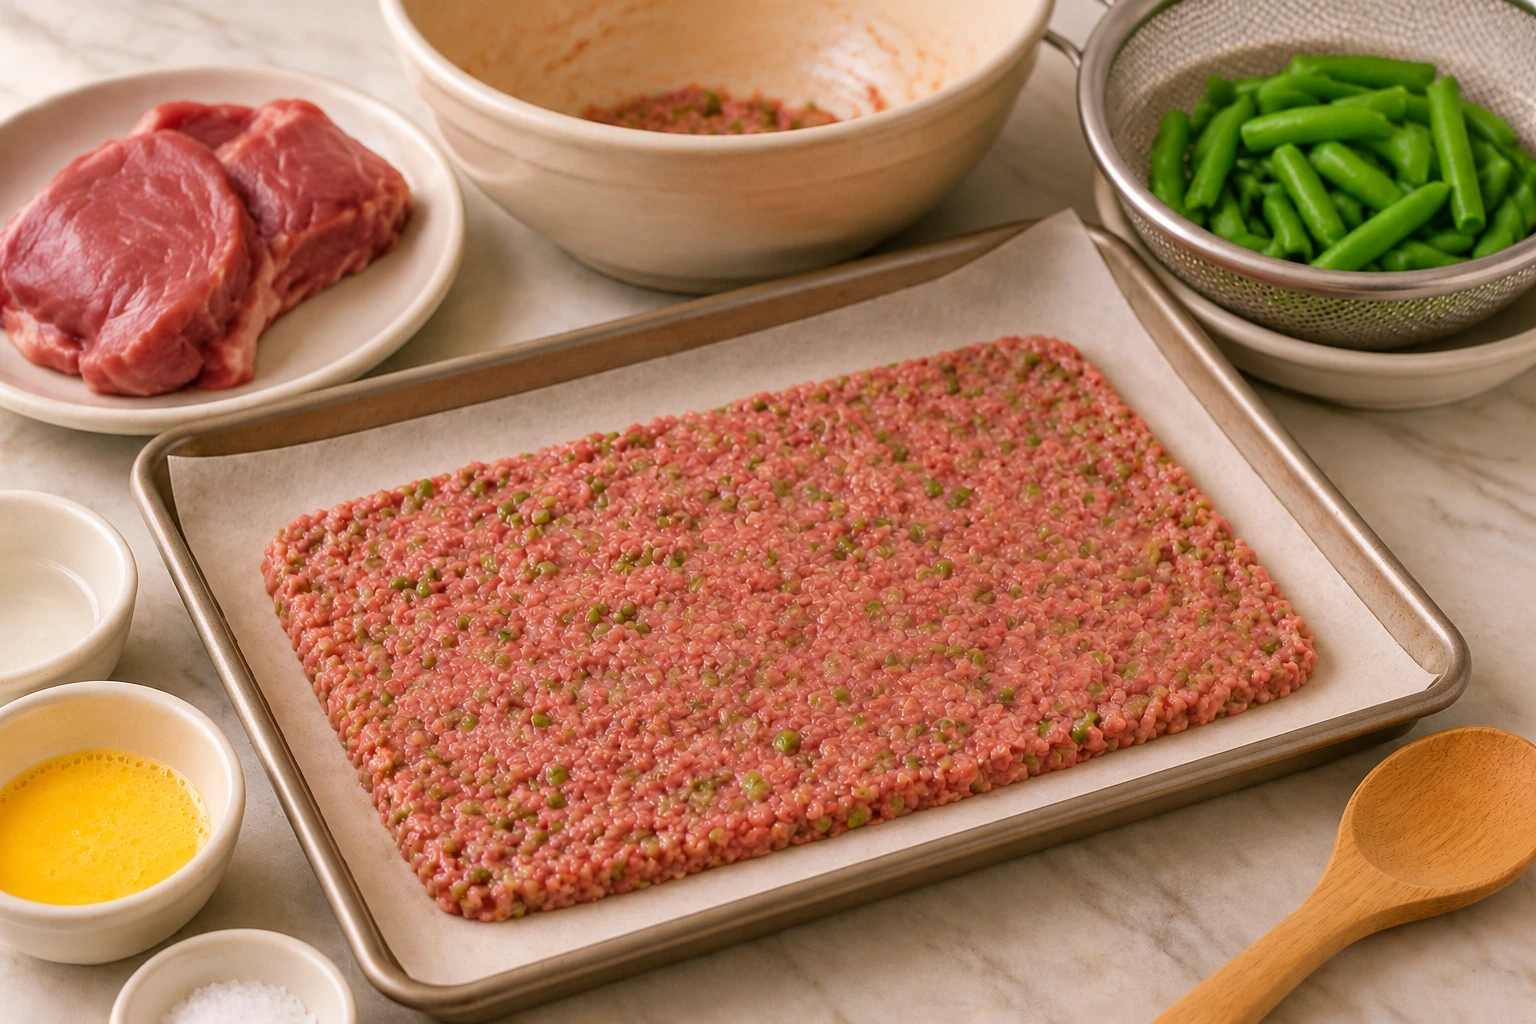
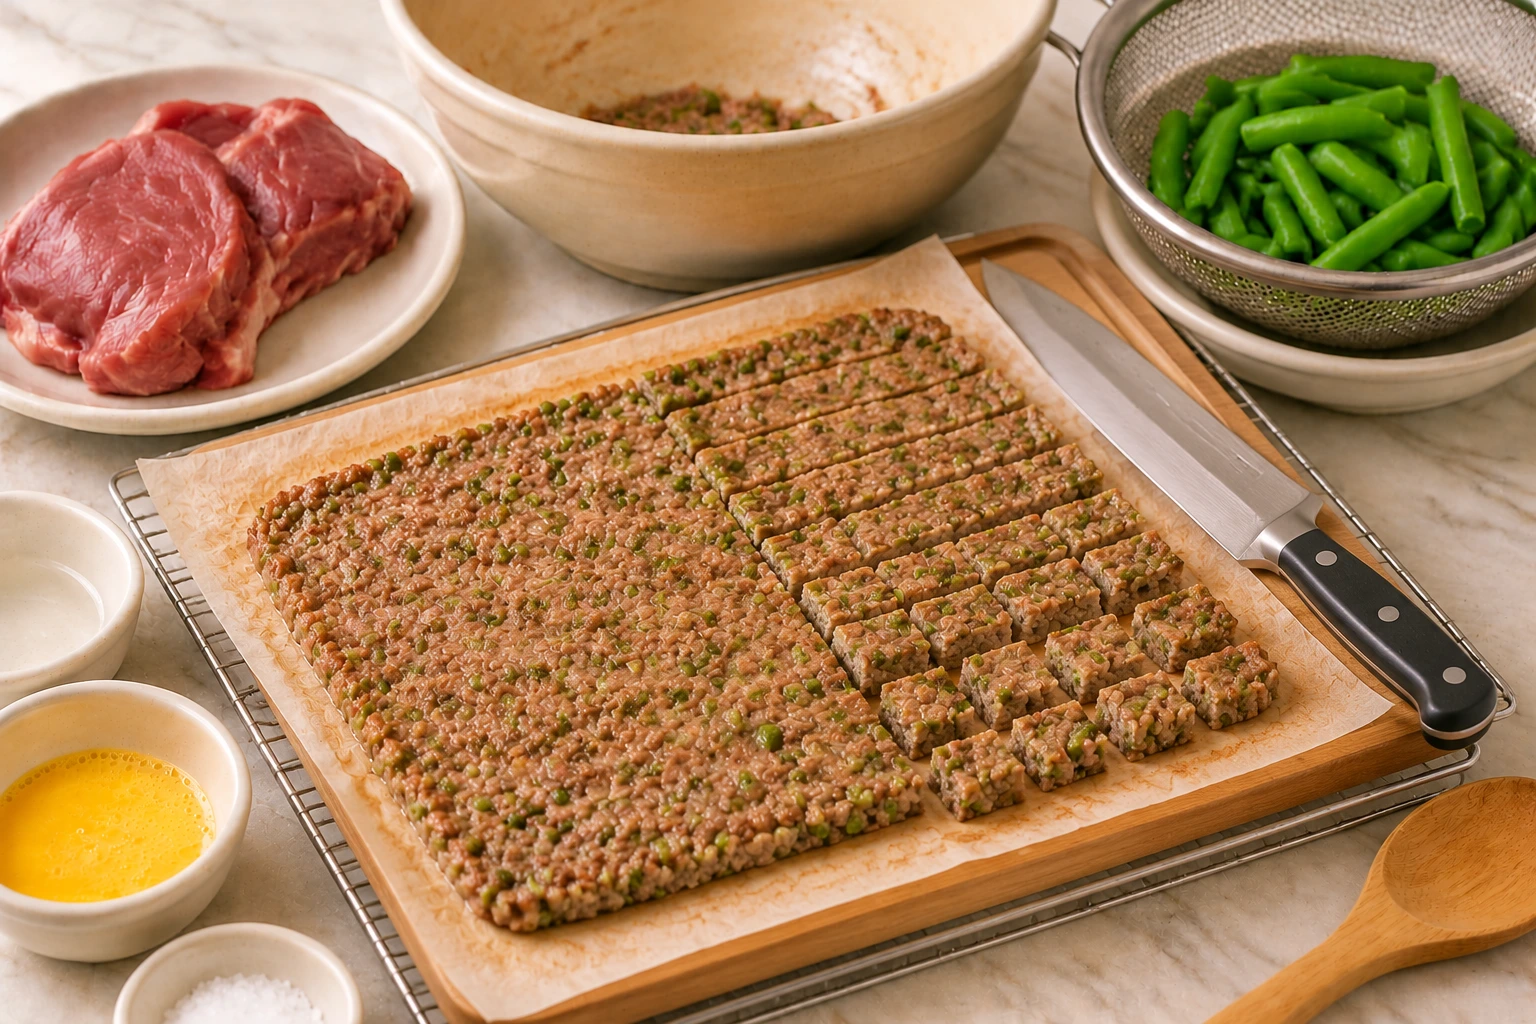
Spread into a Thin Layer: Line the baking tray with oven-safe parchment paper. Transfer the lamb mixture onto the parchment and spread it into a neat, even rectangle approximately 5 to 7 mm thick. Use the back of a spoon or a small spatula to smooth the surface and gently press down any raised areas. Keep the thickness consistent, especially around the corners, because thin edges cook faster than the center. Do not leave thick mounds or large gaps. An evenly spread layer makes it easier to cook the lamb thoroughly without drying out the outside.
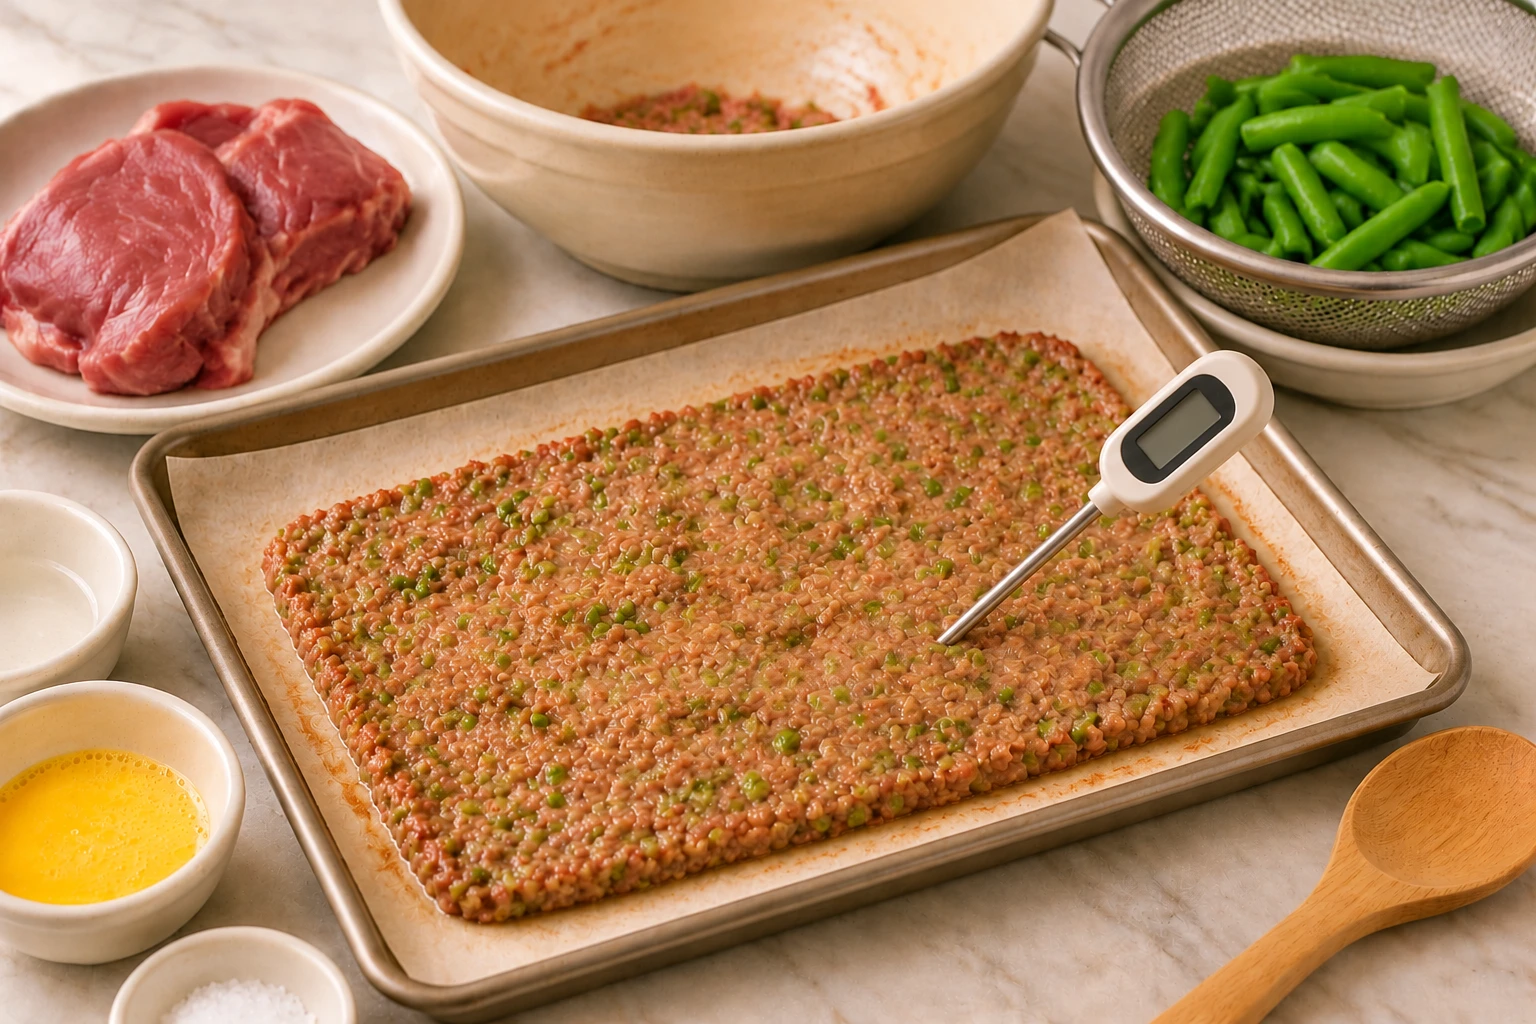
Bake Until Thoroughly Cooked: Place the tray in the preheated 160°C oven and bake for approximately 12 to 18 minutes, checking toward the earlier end of the cooking window. The exact time depends on the moisture content and thickness of the mixture. The lamb should be completely cooked through, with no raw or pink center. Check the thickest part with a clean food thermometer and confirm that it reaches at least 71°C for ground lamb. If the center needs more time, return the tray to the oven in short intervals. Watch the thinner edges closely and remove the tray as soon as the mixture is safely cooked. Do not leave it baking until it becomes dark, crisp or dry.
Cool and Cut into Small Slices: Remove the tray from the oven and allow the baked lamb layer to rest briefly on the tray. Transfer it carefully with the parchment onto a clean cooling surface if necessary. Let it cool completely before cutting. Once cool, use a clean sharp knife to cut the sheet into narrow strips and then into small, bite-sized pieces appropriate for your cat. Aim for soft slices that can be broken apart easily rather than hard, brittle pieces. Check the cut surfaces for any remaining hard fragments or unusual pieces of gristle. Divide the cooled treats into small portions and refrigerate or freeze promptly.
Made this recipe?
Tap the paw so other pet parents know it’s worth making.
Be the first to make it
Tips & serving
Allow the slices to reach room temperature before offering them to your cat. Break them into small, manageable pieces appropriate for your cat's size and eating habits. Start with one small piece to see whether your cat accepts the texture. Treats should account for no more than 10% of daily calorie intake, with the remaining food coming from a complete and balanced diet. These slices are occasional treats, not a complete meal. Ask your veterinarian about suitable portions for your individual cat, and discuss major diet changes with a veterinarian before making them.
- Lamb gives homemade treat preparation a different meat option from the more familiar chicken and fish recipes.
- The thin slice format makes it convenient to divide treats into small portions without complicated shaping.
- A short ingredient list makes it easier to identify exactly what goes into each homemade batch.
- Finely chopped green beans provide a little textural contrast while keeping the recipe primarily meat-based.
- Choose lean lamb and trim visible fat before mincing to keep the mixture from becoming greasy during baking.
- Chop the green beans very finely so they distribute evenly and do not leave large vegetable pieces in individual treats.
Storage
Refrigerator: Store completely cooled slices in a clean, airtight food container at 4°C or colder. Use within 3 days. Keep the container sealed between servings to prevent the treats from drying out or absorbing odors from other foods. Freezer: Arrange individual cooled pieces in a single layer until firm, then transfer them to a labeled freezer-safe container or bag. Separate portions before freezing so you only need to thaw what you intend to serve. Thawing: Defrost the required portion in the refrigerator rather than on the kitchen counter.
Substitutions
Fresh green beans can be replaced with an equal small amount of plain frozen green beans. Thaw, cook until tender, drain thoroughly and chop finely before mixing. Oat flour is optional. Leave it out if the mixture spreads and holds together well without it. It is not necessary to add another flour simply to complete the recipe. If lamb is unavailable, lean boneless beef can be used in the same quantity, provided it is minced and thoroughly cooked. The finished treat will have a different flavor and texture. Fresh lamb should remain the primary ingredient.
Cats recipe FAQ
Is this treat a complete meal for my cat?
Treat it as an occasional extra, not a meal plan. Allow the slices to reach room temperature before offering them to your cat. Break them into small, manageable pieces appropriate for your cat's size and eating habits.
Is lean boneless lamb okay for cats?
This recipe uses lean boneless lamb in a small, cat-appropriate amount. Skip it if your cat has a known sensitivity, and read the foods-to-avoid note on this page before serving.
How long does Cats Lamb and Green Bean Savory Baked Slices keep?
Refrigerator: Store completely cooled slices in a clean, airtight food container at 4°C or colder. Use within 3 days. Keep the container sealed between servings to prevent the treats from drying out or absorbing odors from other foods.
How should I introduce this treat?
Start with a taste-size portion next to your cat's usual food, and hold off on serving more until you have seen that it agrees with them.
Can cats eat cooked lamb as a homemade treat?
Plain, thoroughly cooked lamb can be offered to many cats in small amounts as an occasional treat. Remove every bone, trim excessive fat and avoid salt, sauces and seasonings. Lamb treats should supplement, not replace, a complete and balanced feline diet.
How do I keep homemade lamb slices from becoming hard?
Spread the mixture evenly at approximately 5 to 7 mm thick and avoid extending the baking time unnecessarily. Check the internal temperature at the thickest point to ensure safe cooking. Let the sheet cool before cutting, and store the slices in an airtight container.
Sources