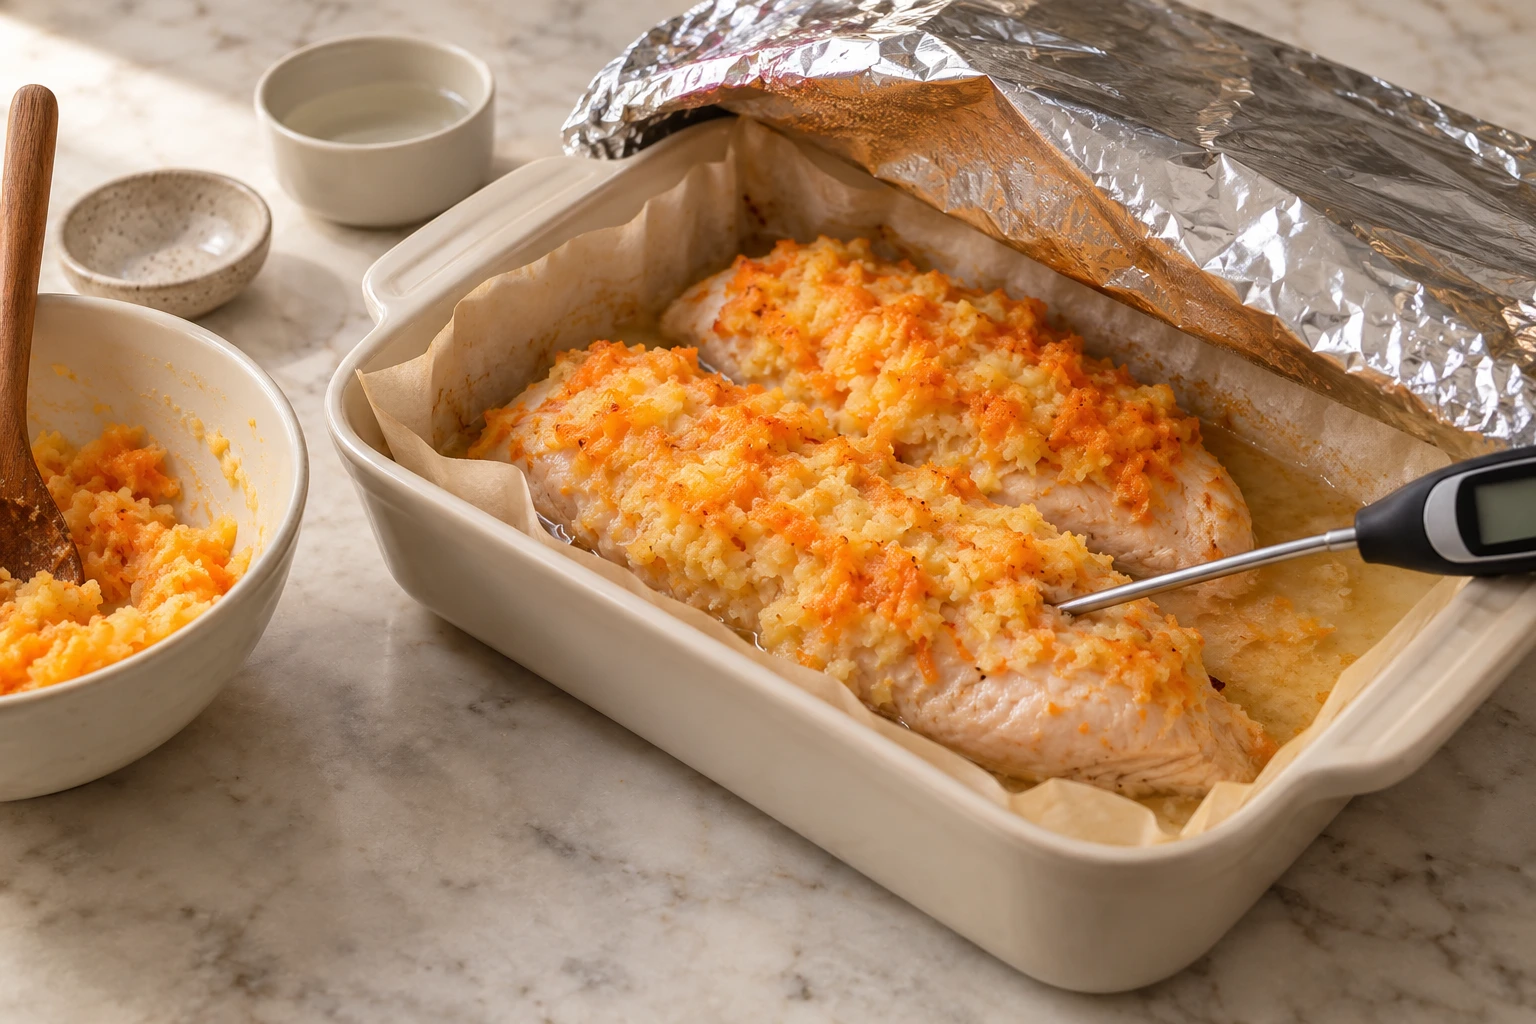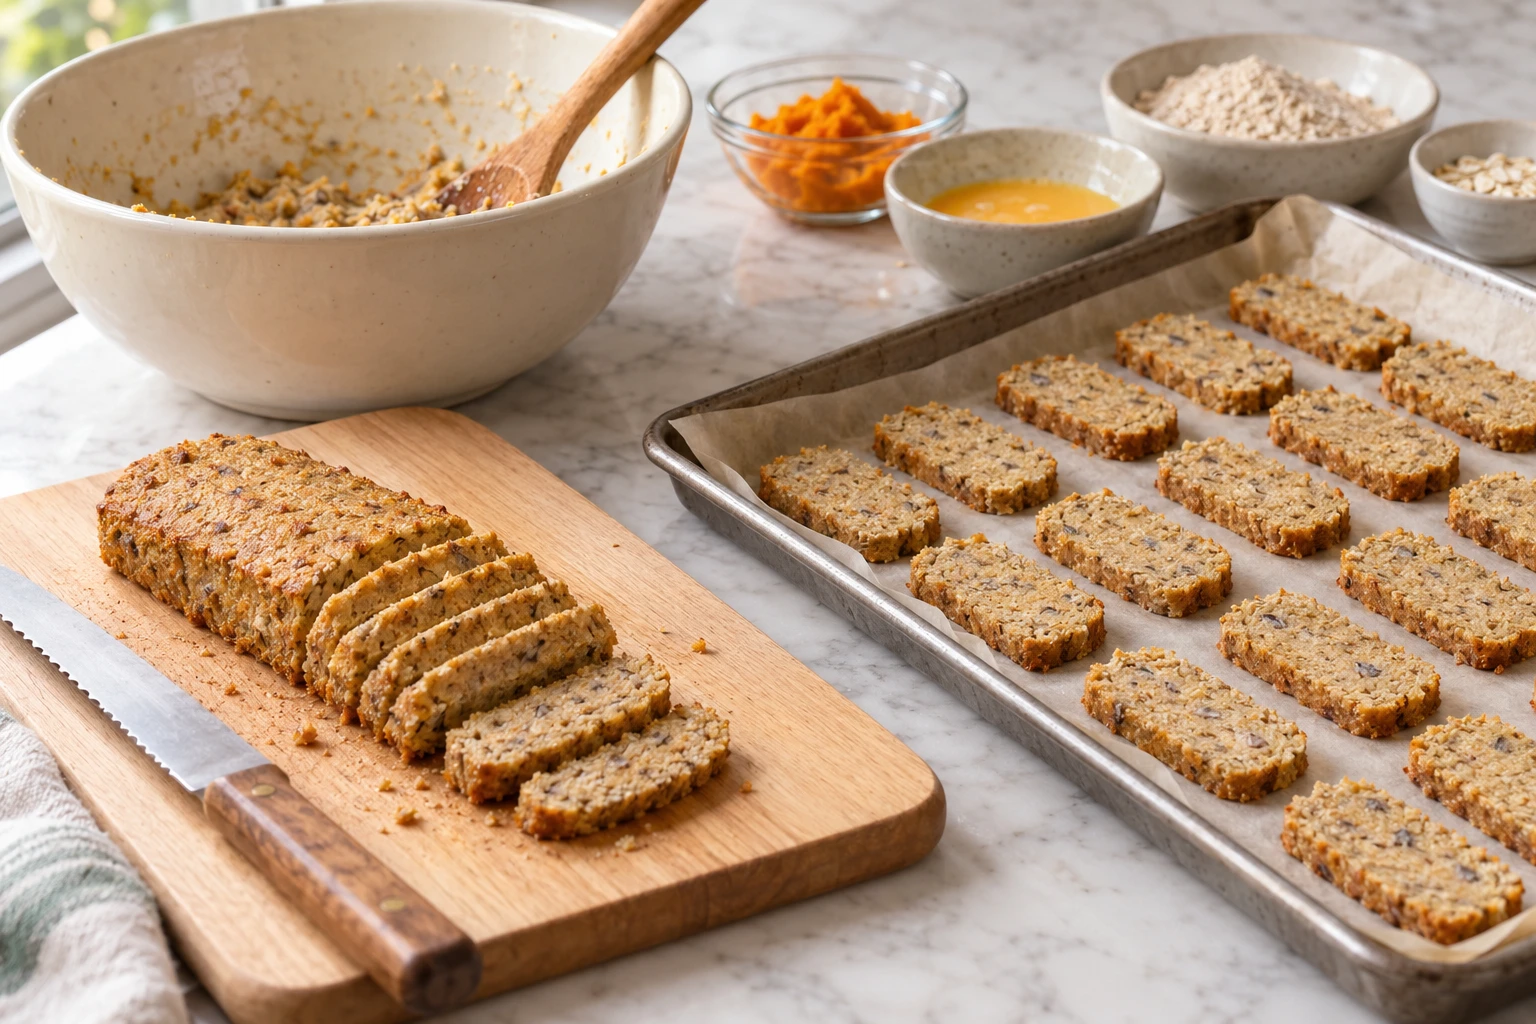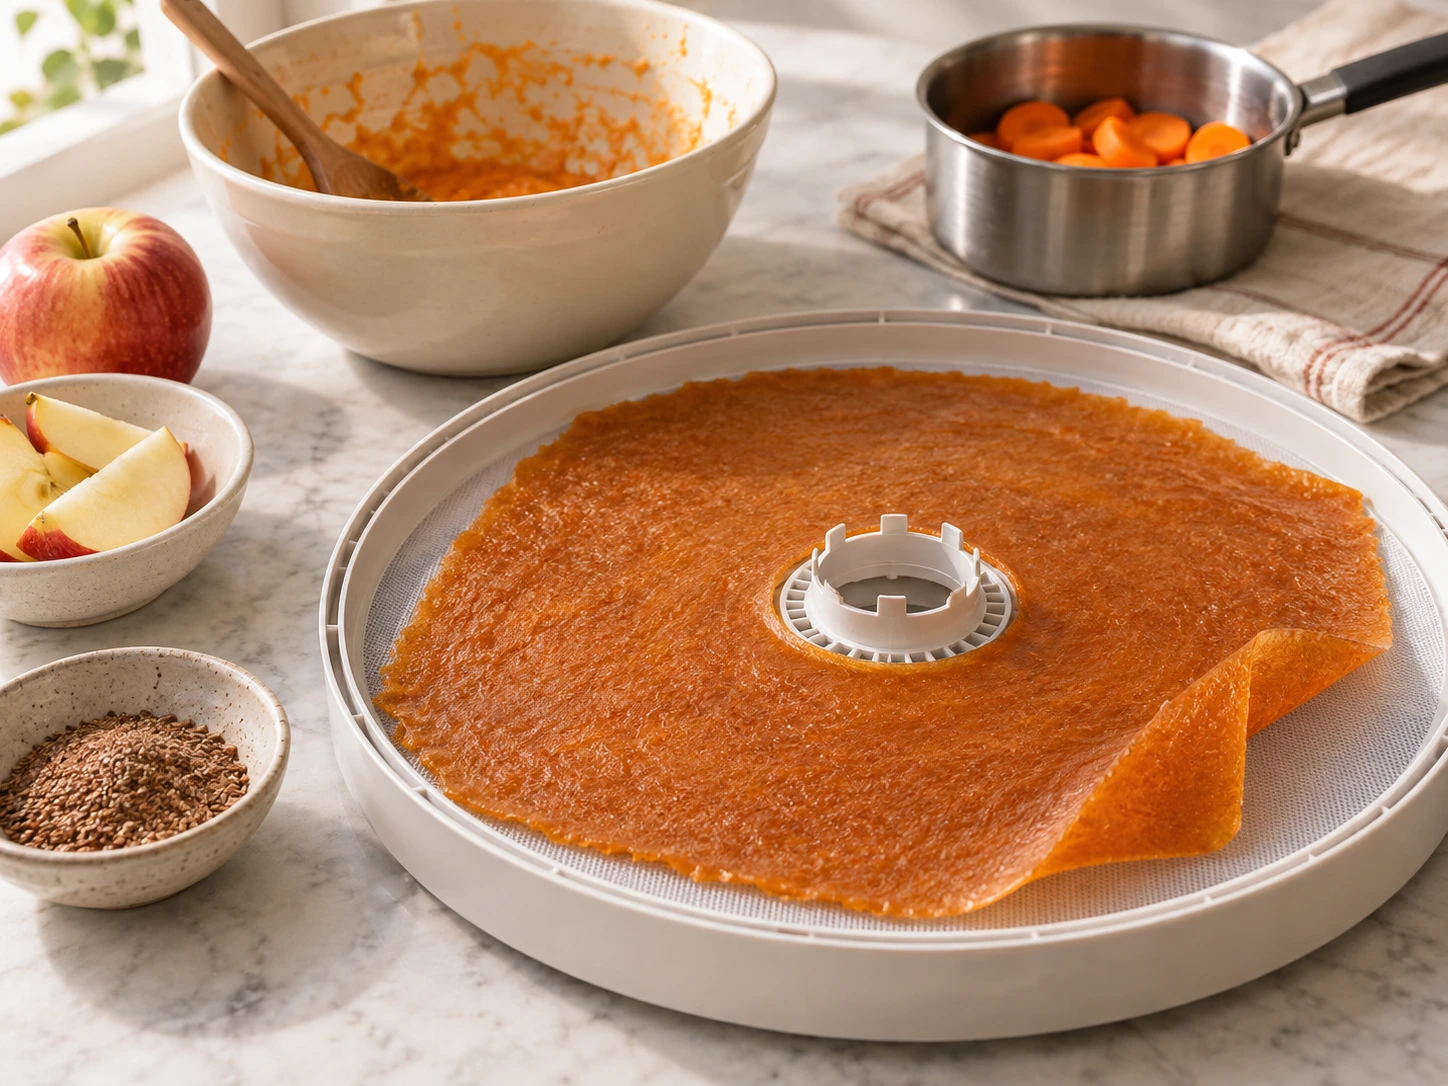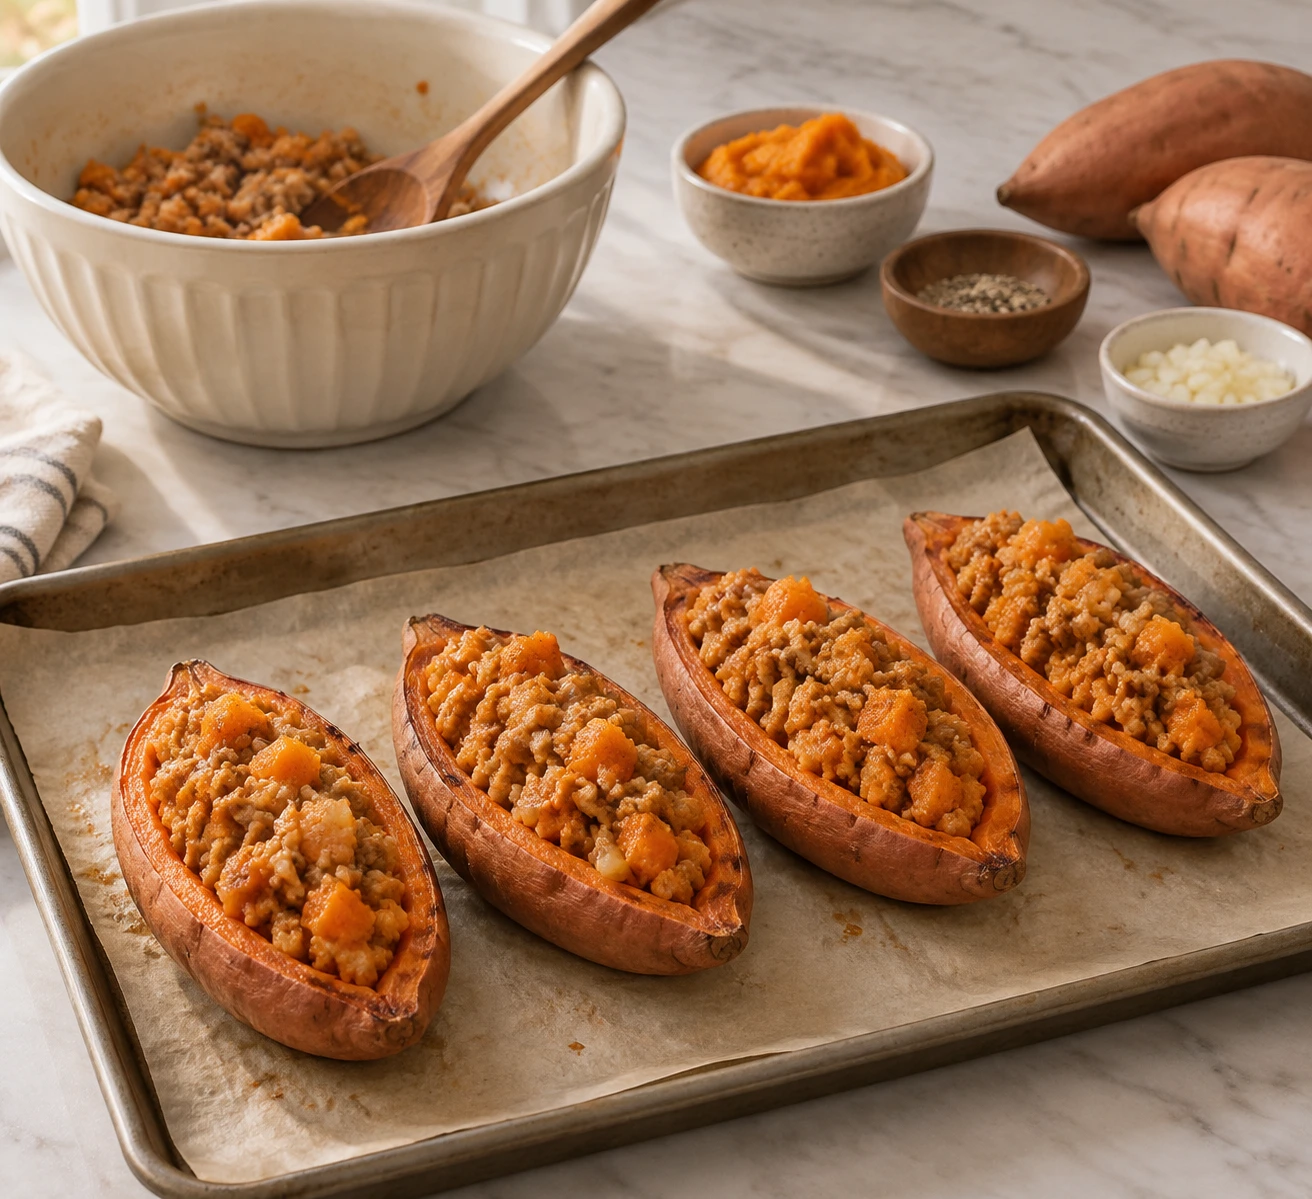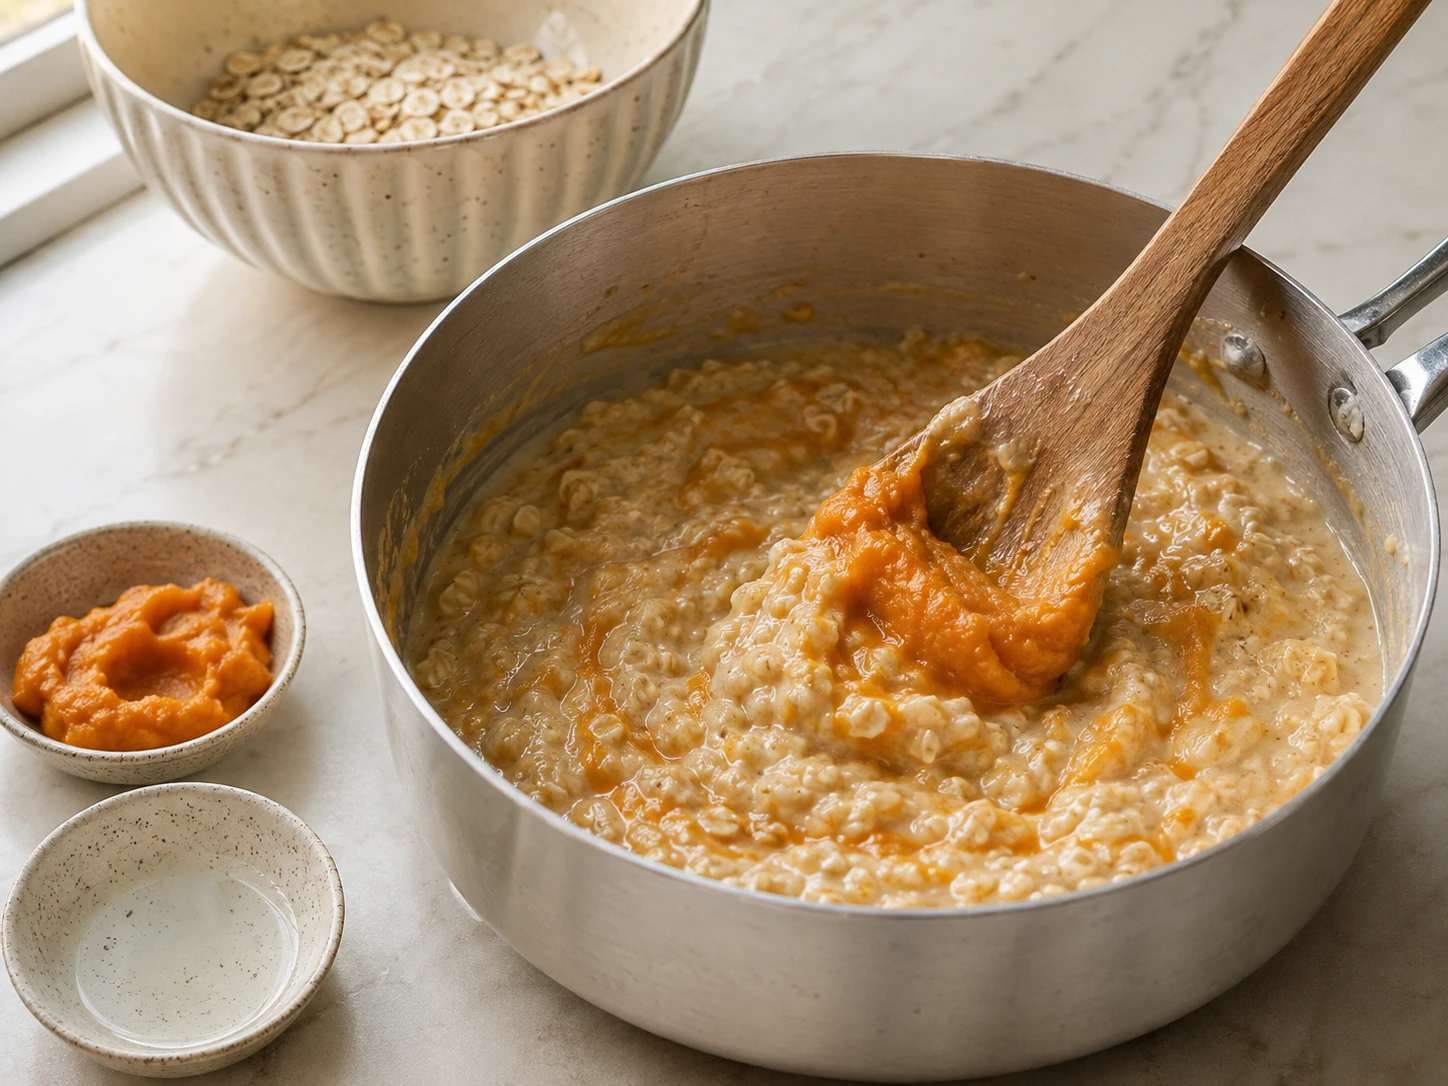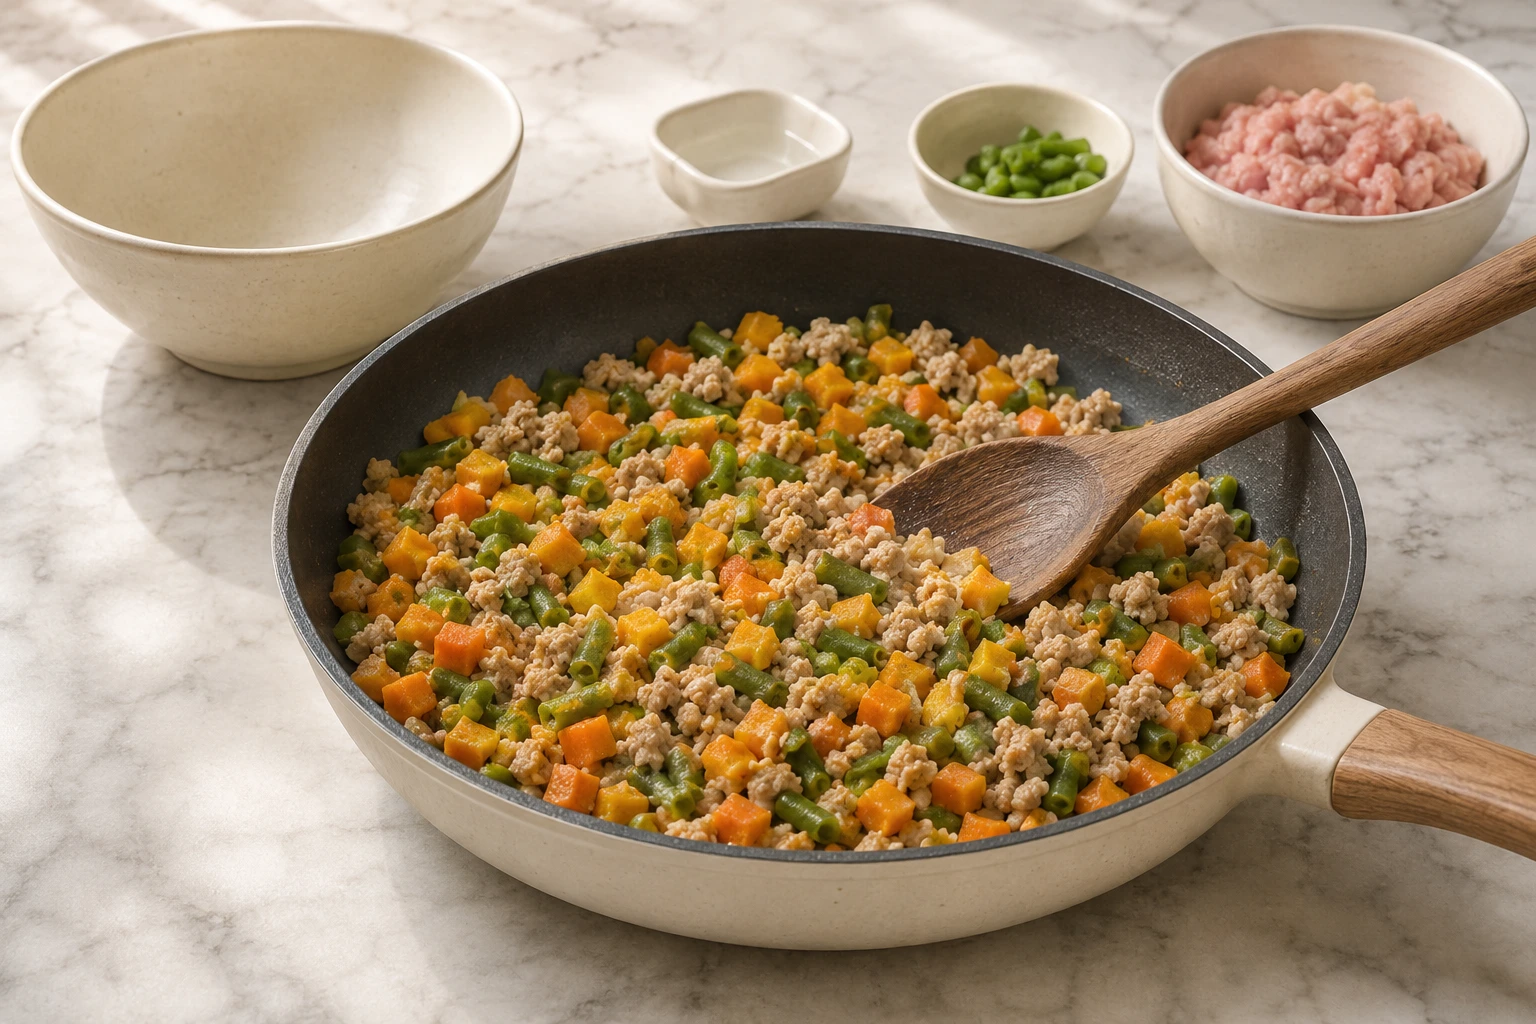


Making treats for your dog at home can feel rewarding, but the job does not end when the baking tray comes out. Storage decides how long those biscuits, bites or soft treats stay fresh and safe to offer. A batch that looks fine on day one can change if moisture gets trapped inside a container or if treats sit in a warm cupboard for too long. The question many owners ask is simple: how to store homemade dog treats after cooking? The answer depends on the recipe, the ingredients and the amount of moisture left in the treat. A dry biscuit needs different care from a soft pumpkin bite. This guide explains the storage choices that fit homemade dog treat storage, so you can make sensible decisions in your own kitchen.
Cool homemade treats fully before storing them
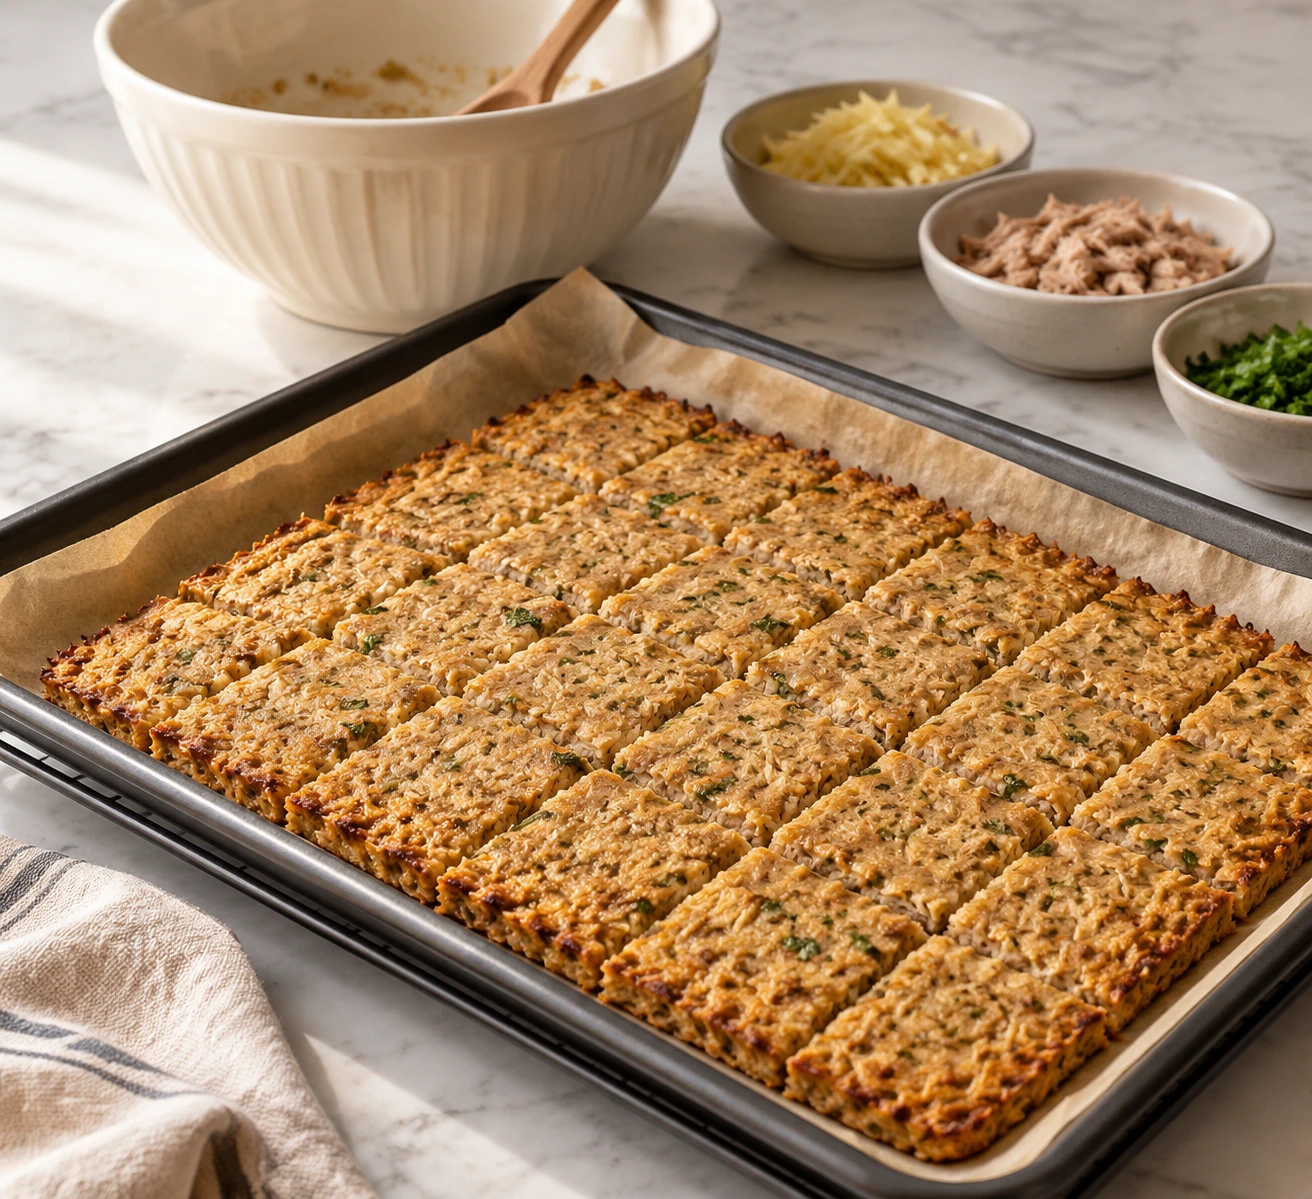
The first storage step happens before you reach for a container. Let homemade dog treats cool completely after baking or cooking. Warm treats release steam, and that moisture has nowhere to go once the treats are sealed. The result can be a softer texture than you wanted, and damp areas can affect freshness. I usually wait until a treat feels the same temperature in the middle and on the outside before packing it away. Got a batch that seems dry on the tray? That is usually fine. The bigger mistake is sealing treats while they still hold heat. A few extra minutes on a cooling rack can make a difference.
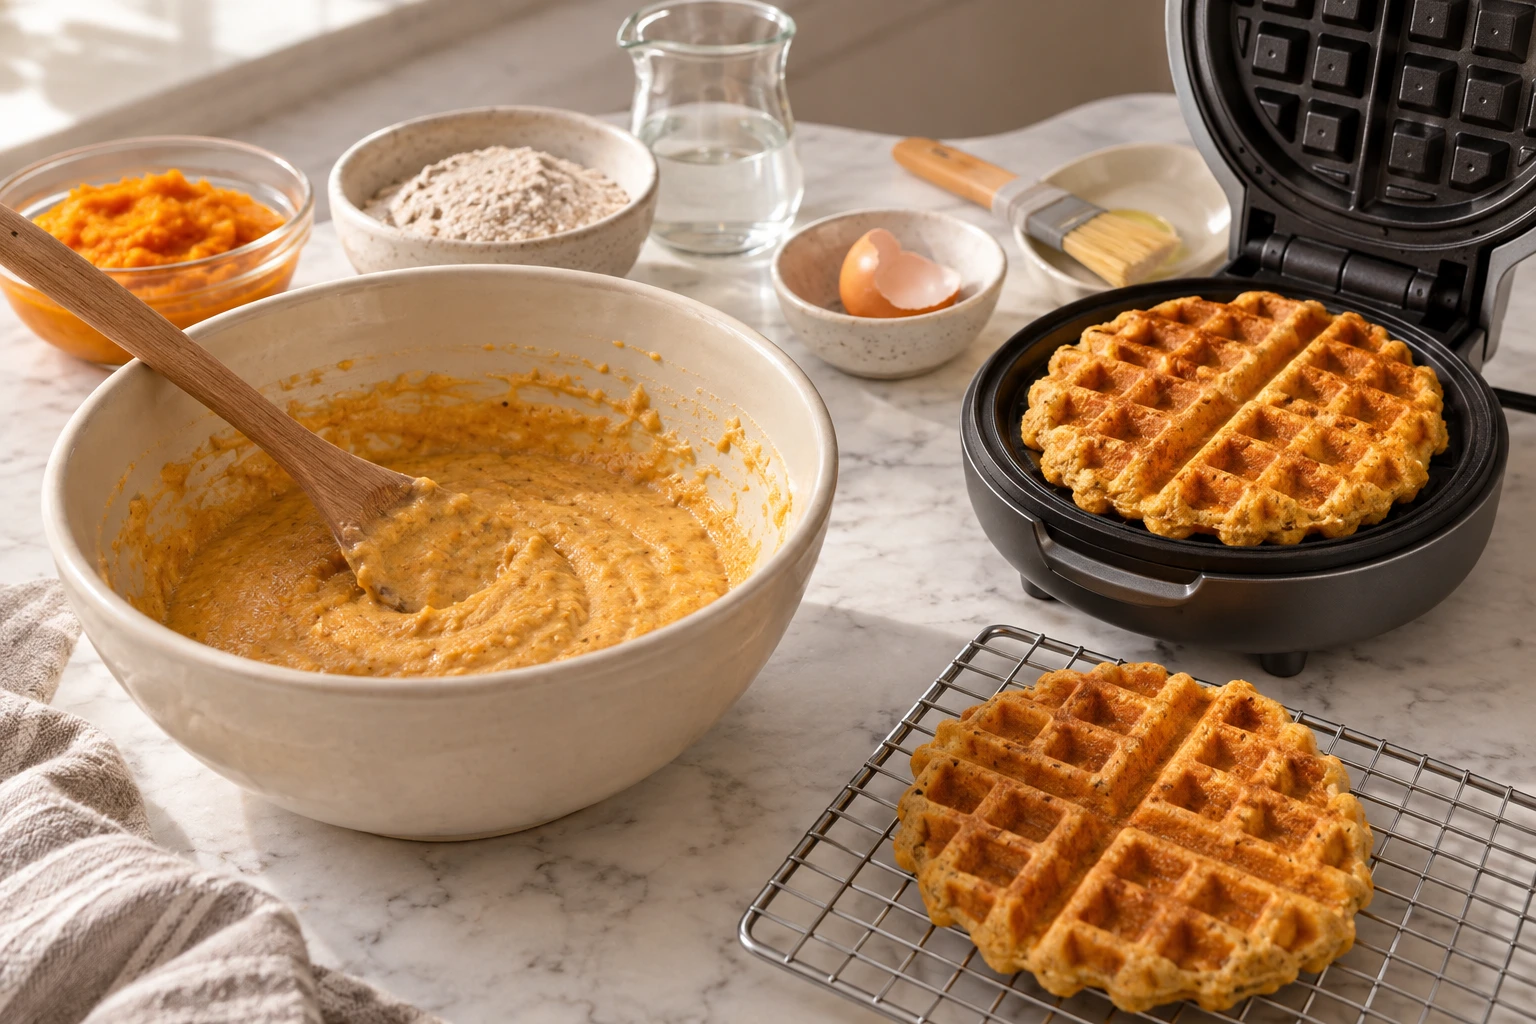
The type of treat matters here. A crunchy biscuit made with flour and baked until firm behaves differently from a soft treat made with ingredients like meat, eggs or fruit puree. Soft treats often need more careful storage because they contain more moisture. Look at the recipe and think about what is inside it before choosing a container or storage spot. For homemade pet food, small details count. A clean cooling rack, washed hands and a dry storage container give your treats a better start before they reach your dog.

Choose a container that matches the treat
The best container for homemade treats depends on the texture you want to protect. Dry biscuits usually do well in a clean airtight container because it keeps outside moisture away and helps maintain their crunch. Soft treats need a different approach because trapping too much moisture can change their texture quickly. Glass jars, food-safe plastic containers and sealed bags can all work when they are clean and dry. I prefer containers that are easy to wash and easy to inspect. If you cannot see or smell what is happening inside, you may miss a change until the treats are no longer at their best.
A container should not become a hiding place for old crumbs. Before adding a fresh batch, wash the container and let it dry completely. Leftover crumbs from a previous batch can affect the new treats, especially if they have different ingredients. What about the treat jar on the counter? It depends on the recipe and your home temperature. A dry biscuit may be fine for a short period, while a softer homemade treat often needs cooler storage. Safe storage for homemade pet food starts with knowing what you made.
Know how long homemade dog treats last
Many owners search for how long do homemade dog treats last because there is no single answer for every recipe. A dry baked biscuit can often stay fresh longer than a moist treat, but the exact time depends on the ingredients, preparation and storage conditions. Treats containing fresh ingredients need more care than simple baked cookies. Check your recipe notes and use your senses. A change in smell, texture, colour or appearance means the treat should not be offered. When I make a batch at home, I label the container with the preparation date so I do not have to guess later.
Freezing can be useful for some homemade treats when you make more than your dog will eat soon. Divide the treats into smaller portions before freezing so you only remove what you need. Thaw them in a clean container rather than leaving them exposed on the kitchen counter for long periods. The thing is, storage is part of the recipe. A good treat can lose quality if it is handled differently after cooking. Keep the storage plan simple enough that you will actually follow it.
Keep your treat storage area clean
The place where you store homemade treats matters just as much as the container. Choose a clean, dry area away from heat, direct sunlight and strong smells. A cupboard near an oven or a sunny window may not be the best spot because temperature changes can affect stored food over time. Use the same care you would use for your own snacks. Wash containers between batches, wipe the storage shelf and avoid touching treats with wet hands. Small kitchen habits are often what keep a homemade batch in good shape.
Some dogs receive treats slowly because they only get one or two pieces each day. In that case, storage becomes even more important. A large batch sitting around for weeks needs more attention than treats that disappear quickly. Honestly, I would rather make a smaller batch more often than keep a questionable container around. Freshness is easier to manage when the amount matches your dog's routine.

Avoid common homemade treat storage mistakes
One common mistake is assuming every homemade treat can be stored the same way. A crunchy oat biscuit and a soft chicken-based treat are very different foods. The ingredients, moisture and cooking method all change the way the treat should be handled after preparation. Another mistake is adding new treats to an old container without cleaning it first. It feels convenient, but leftover pieces from an earlier batch can sit unnoticed in corners. Take the extra minute to start fresh.
People also forget about portion size. Making a large batch can save time, but only if you have a storage plan. If your dog eats treats slowly, freezing part of the batch or making fewer treats may be a better fit. Got a recipe that changes every time you make it? Write down the ingredients and storage method that worked. Your own notes become useful because homemade recipes often vary more than packaged products.
Make storage part of your homemade treat routine
A simple storage routine makes homemade dog treats easier to manage. After cooking, cool the treats, check the texture, place them in a suitable container and mark the date if you tend to forget when a batch was made. This small routine removes the uncertainty that many owners feel when looking at an older container. The goal is not to create a complicated system. Your storage method should fit your kitchen and your dog's habits. Some owners bake once a week, while others prepare treats less often and freeze extra portions.
Look at each batch as its own recipe. A soft treat with fresh ingredients may need different care from a dry biscuit. If you are unsure about a specific ingredient or storage choice, check the recipe source or ask your veterinarian for guidance based on your dog's needs. The best homemade treat routine is the one that keeps you confident about what you are offering your dog.
How Should You Store Homemade Pet Treats Safely at Home? FAQ
Can I leave homemade dog treats on the kitchen counter?
It depends on the recipe, moisture level and conditions in your home. Dry treats may handle short periods better than soft treats, but check the recipe and storage needs before leaving them out.
How long do homemade dog treats last in the fridge?
The answer depends on the ingredients and preparation method. Treats with fresh or moist ingredients often need more careful storage than dry baked biscuits, so follow the recipe guidance.
Should homemade dog treats be frozen?
Freezing can be a useful option for some homemade dog treats, especially when you make more than your dog will eat soon. Portioning treats before freezing makes daily use easier.
What container is best for homemade dog treat storage?
A clean, dry food-safe container that matches the treat texture is a good choice. Dry biscuits and soft treats may need different storage approaches because their moisture levels are different.