

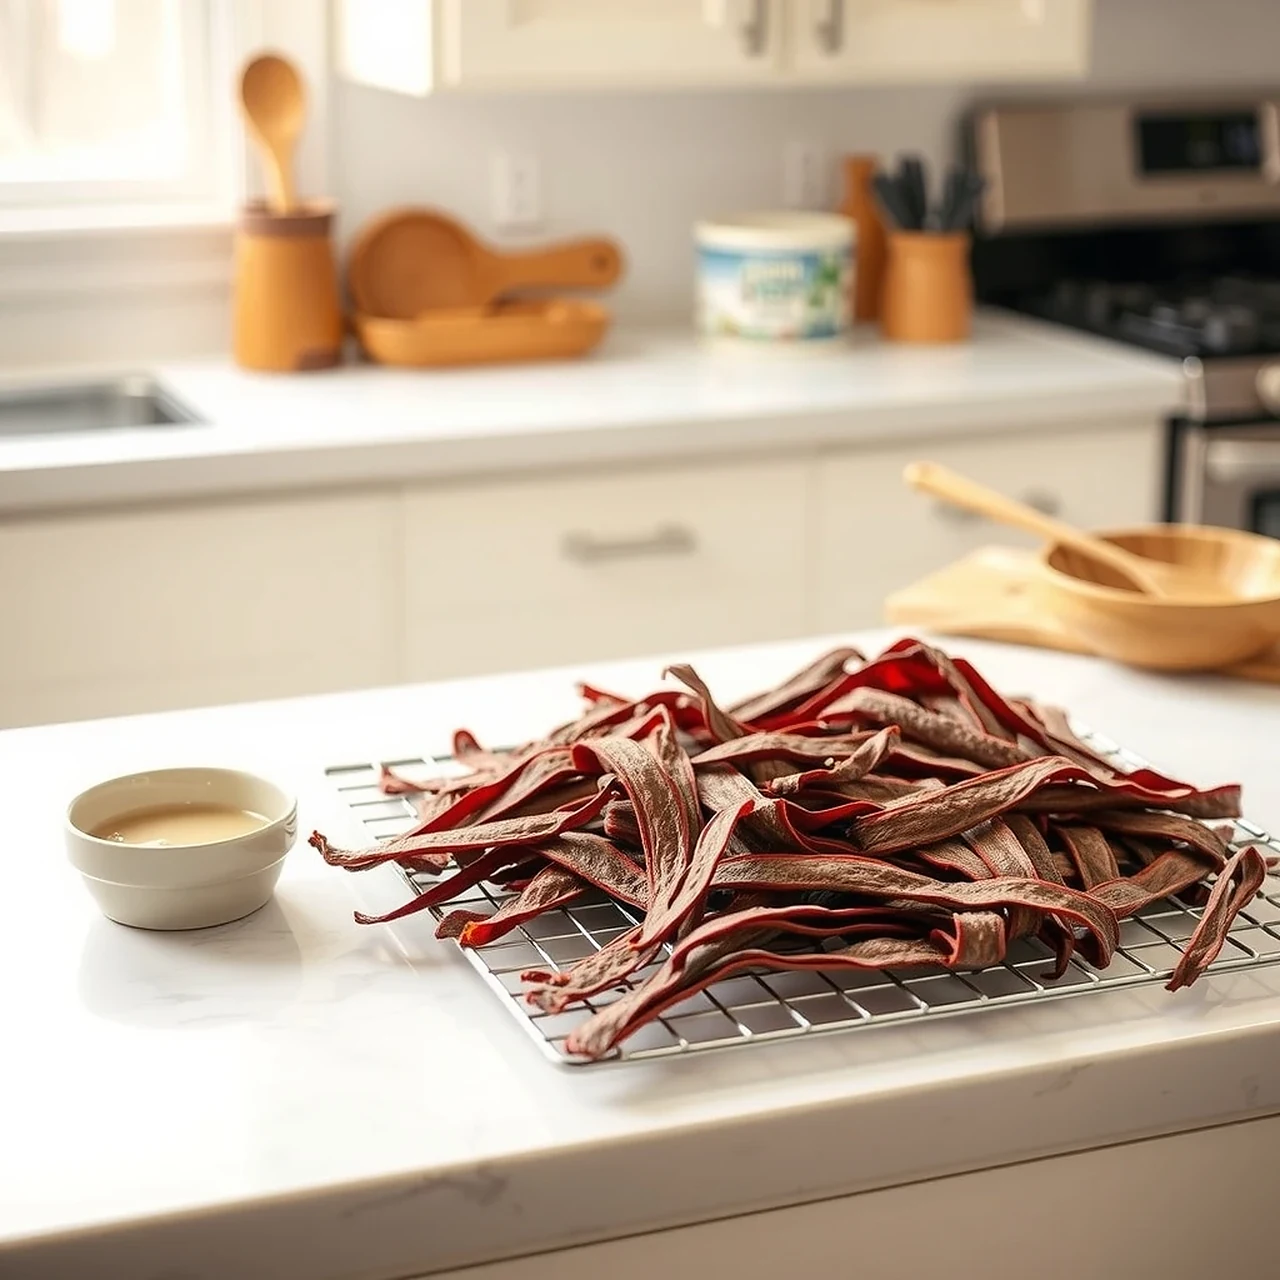
These plain beef jerky ribbons are made for those training moments when a tiny biscuit just does not get enough attention. Very lean beef is sliced into narrow ribbons, heated thoroughly, then slowly dried until firm enough to tear into small rewards. There is no salt, marinade, sugar, garlic, onion, or seasoning. Homemade meat jerky needs a little more careful handling than a baked dog biscuit. Keep the beef cold while you prepare it, verify that it reaches a safe internal temperature, dry it thoroughly, and let it cool completely before packing. Because homemade jerky contains no commercial preservatives, store it in the refrigerator or freezer rather than assuming it is shelf stable.
Safety first: Offer a small taste the first time and watch your dog for any tummy upset before serving more.
Foods to avoid
Do not add salt, soy sauce, Worcestershire sauce, commercial jerky seasoning, sugar, smoke flavoring, onion, garlic, spicy ingredients, or unknown marinades. Do not feed ribbons that are still raw-looking or moist inside, and do not leave homemade meat jerky at room temperature for extended storage simply because it feels dry.
Ingredients
Instructions
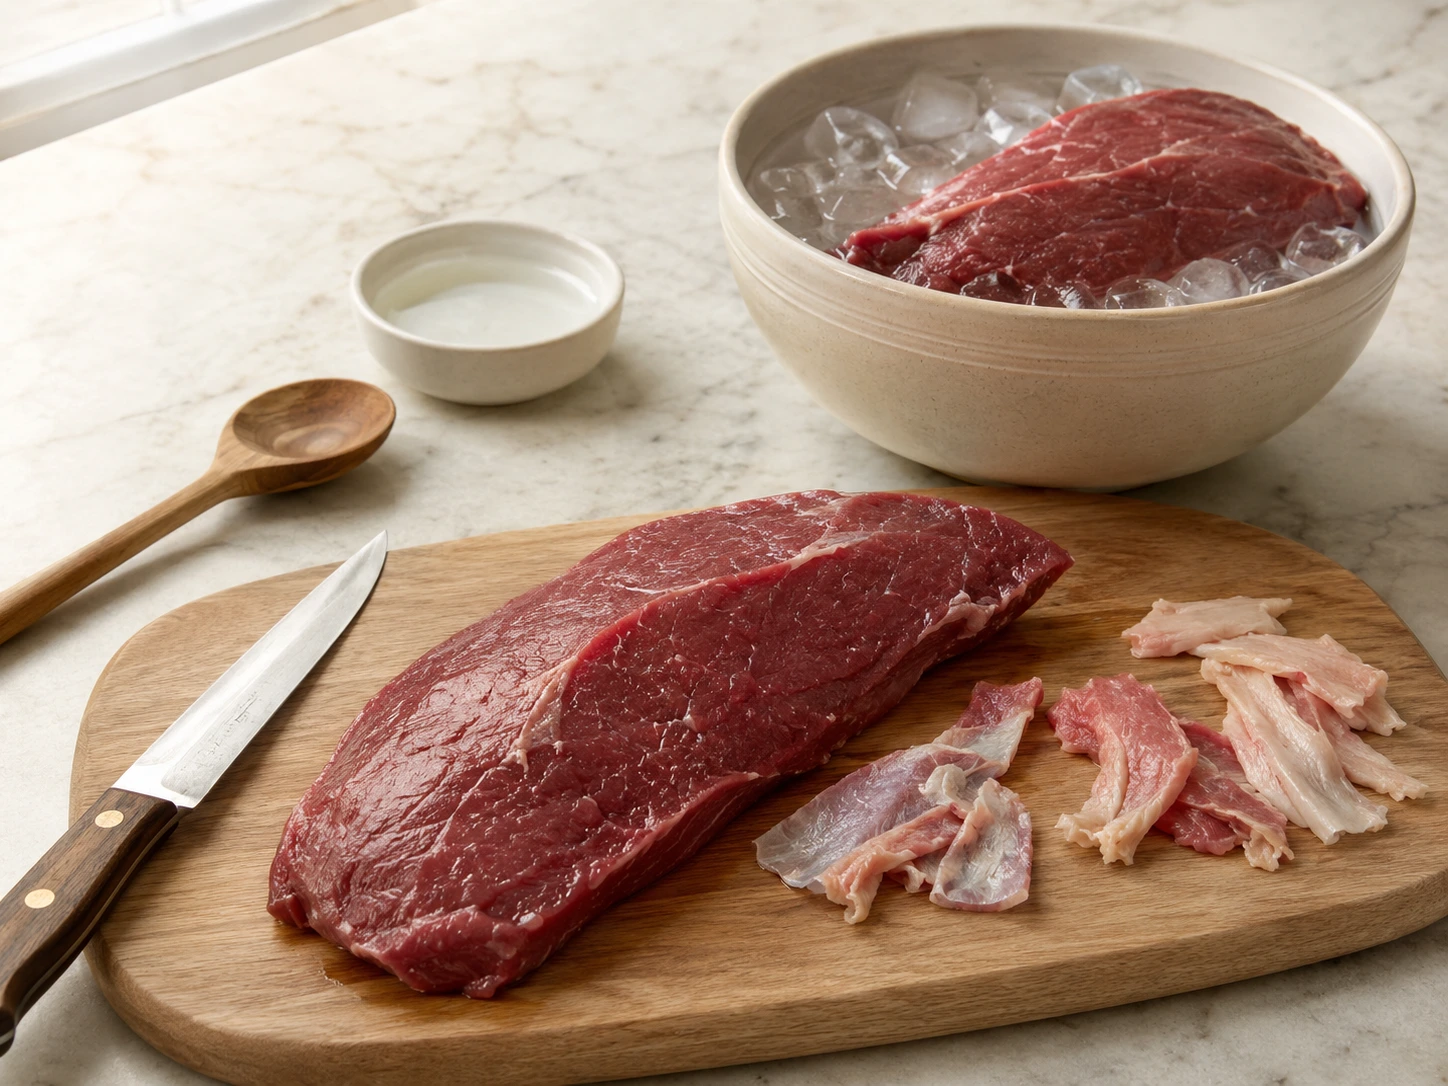
Chill and trim the beef: Place the lean beef in the freezer for about 25 to 30 minutes, just until firm but not frozen solid, which makes it easier to cut into consistently thin ribbons. Set the partially chilled beef on a clean cutting board and trim away visible surface fat, silverskin, and thick connective tissue; fat does not dry like lean muscle and can shorten storage life, so take a few extra minutes to remove obvious fatty seams. Keep any portion you are not actively cutting cold over a bowl of ice rather than leaving the entire piece at room temperature.
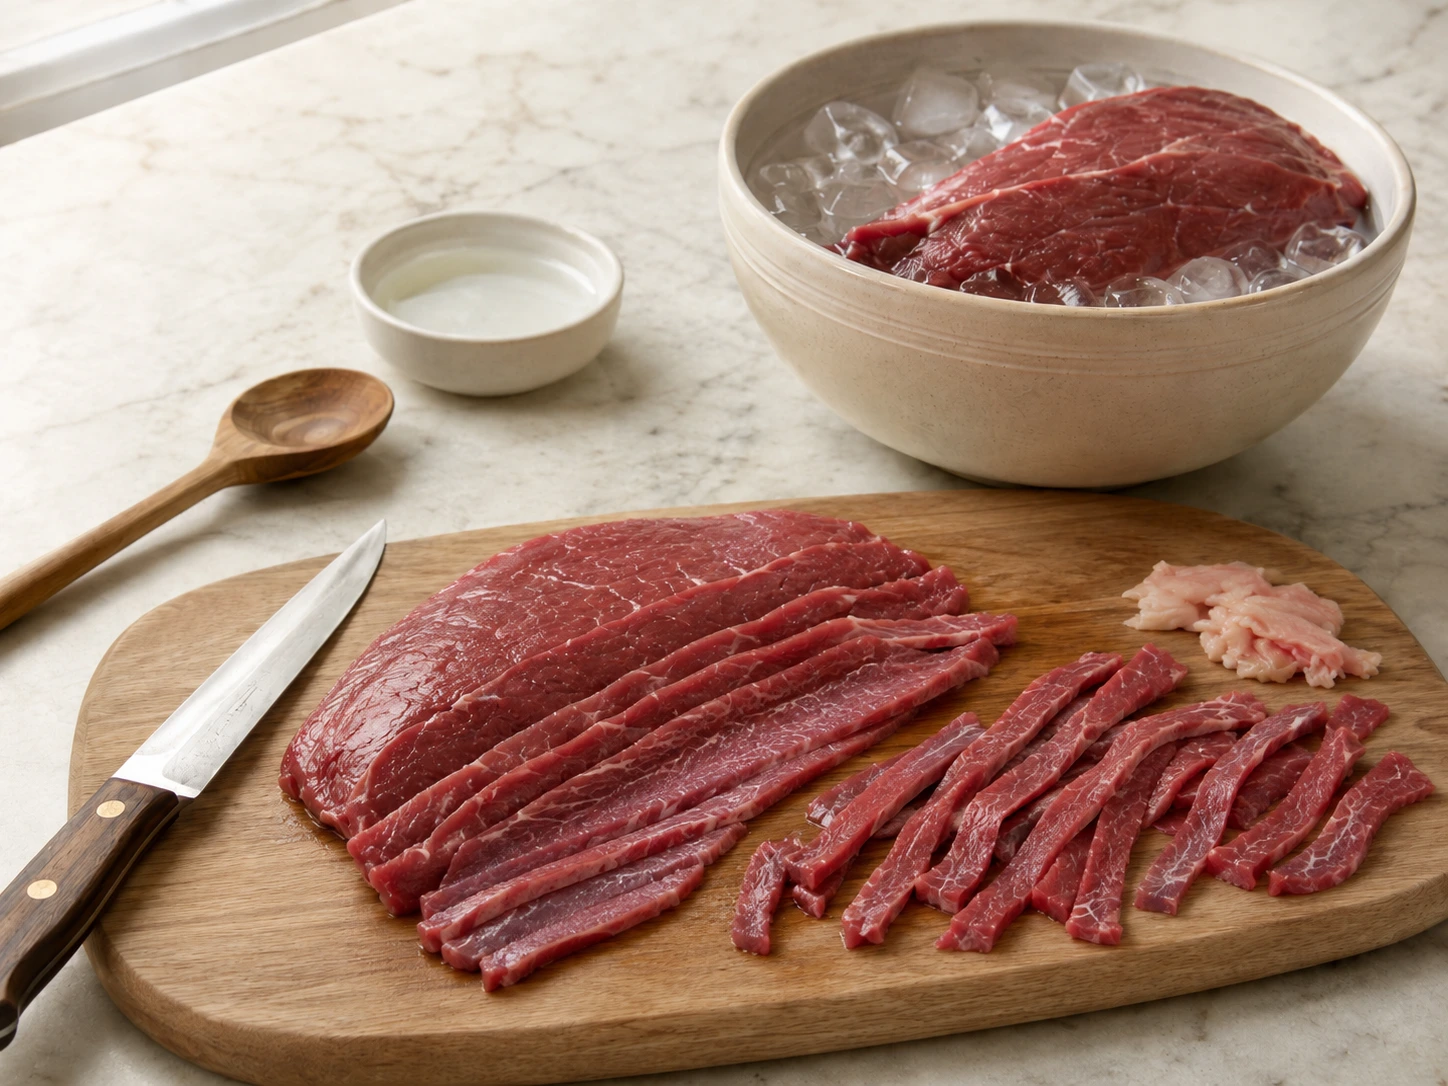
Slice thin ribbons: Slice the chilled beef across the grain into strips roughly 1/8 inch thick, then cut longer slices into narrow ribbons about 1/2 to 3/4 inch wide; cutting across the grain makes the finished jerky easier to tear into small training portions. Aim for consistent thickness because very thin pieces can become brittle while thicker pieces remain moist. If several ribbons stick together, separate them with clean fingers or the smallest amount of cold water rather than adding oil or a marinade.
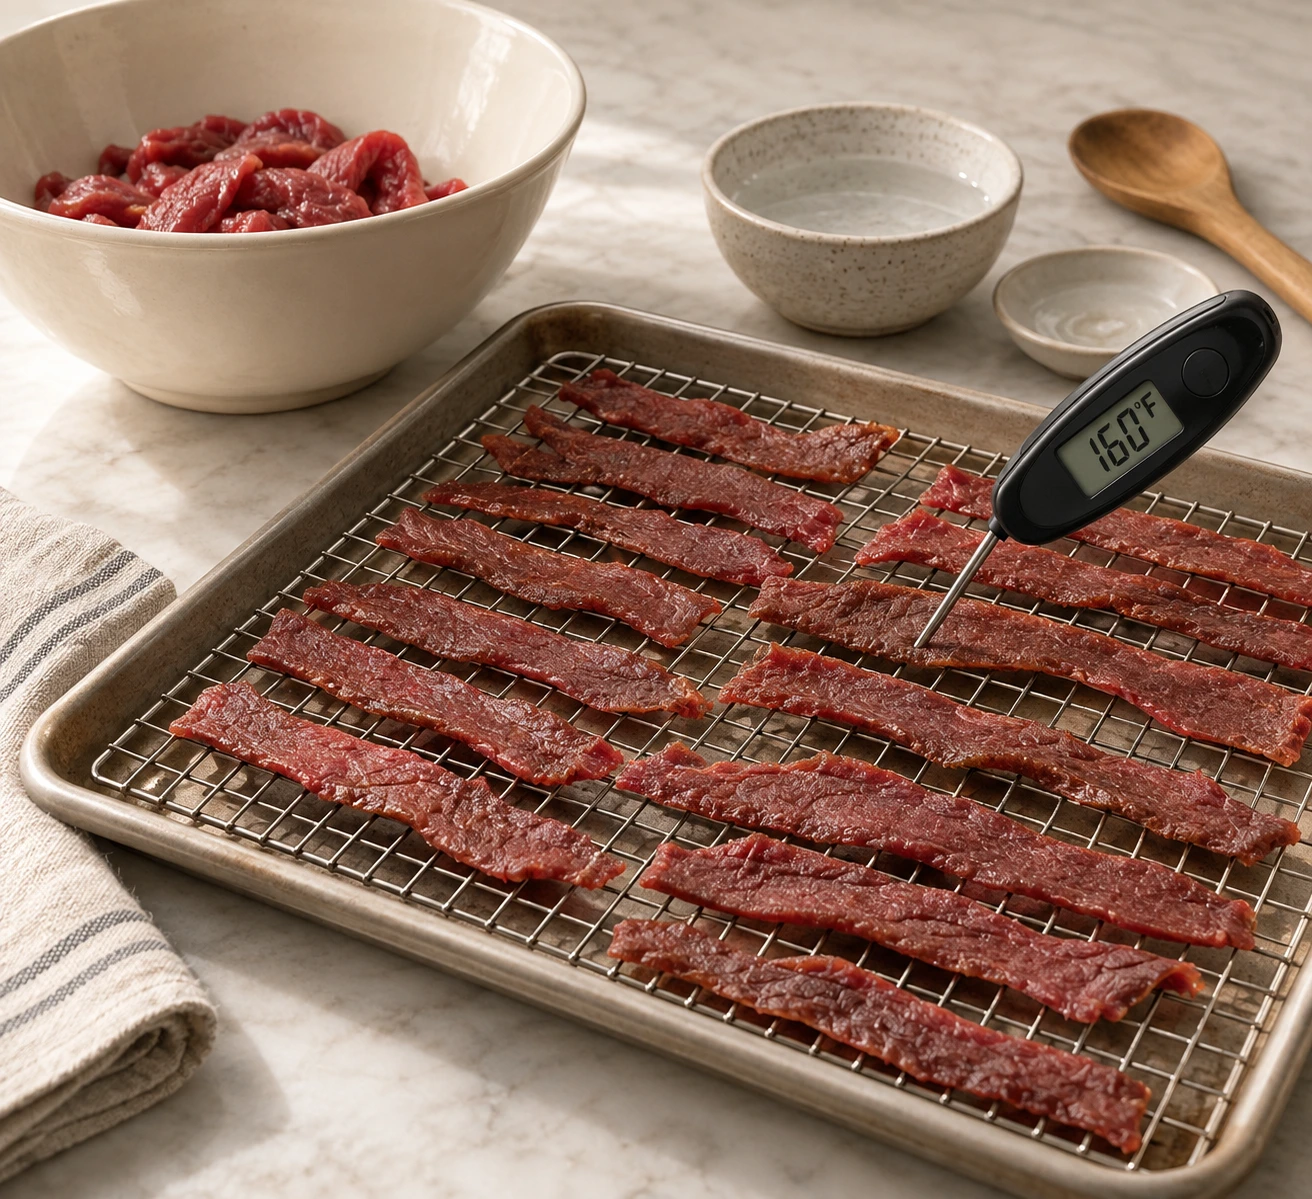
Heat the beef thoroughly: Preheat the oven to 300 F, then arrange the beef ribbons in a single layer on the wire rack over the rimmed baking sheet, leaving a little space between pieces. Heat them until the thickest ribbons reach at least 160 F internally, checking with an instant-read thermometer rather than relying only on color or a fixed cooking time; thin ribbons heat quickly, so begin checking early and remove them once the temperature has been verified. This heating step is important because low-temperature drying by itself should not be relied on to make raw beef safe.
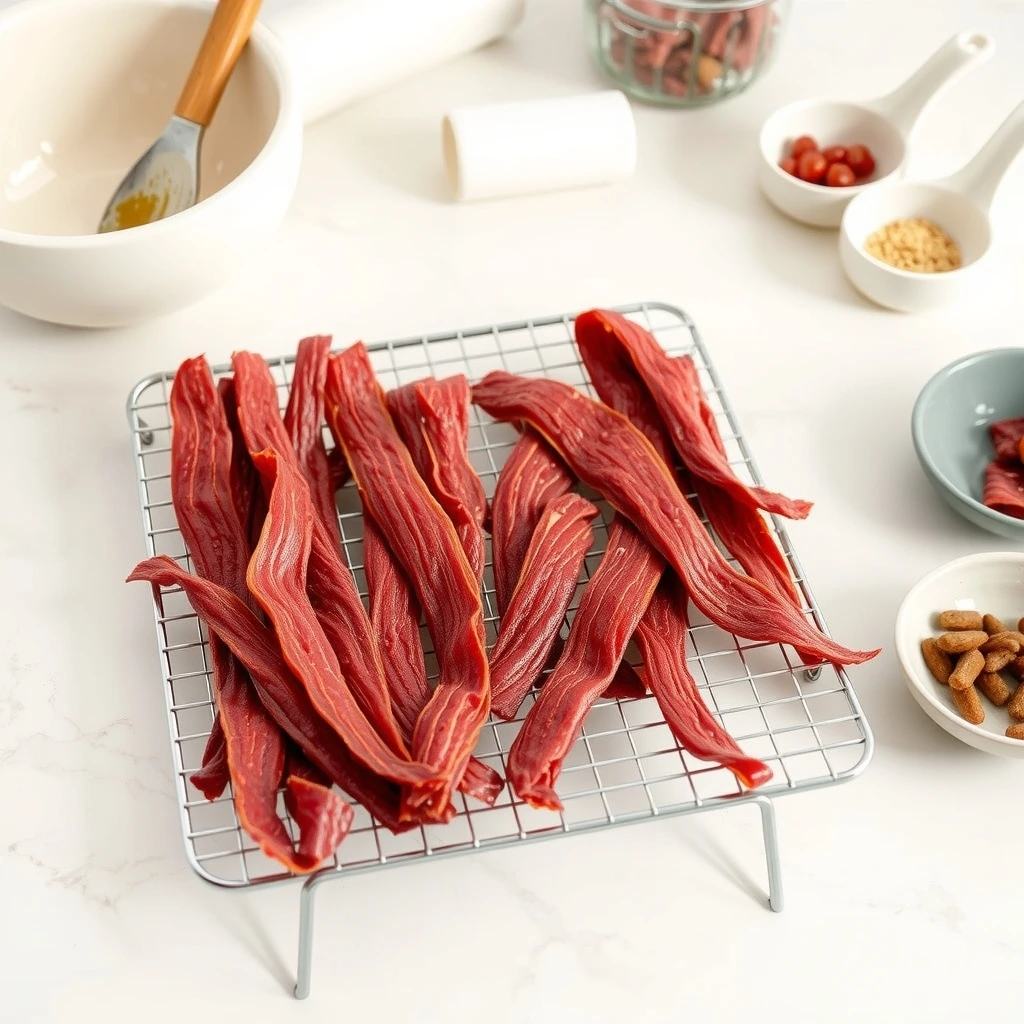
Dry until firm: Transfer the heated ribbons to a dehydrator set around 160 F, or reduce the oven to its lowest suitable drying setting and keep the beef on the wire rack so air can circulate. Dry until the ribbons are noticeably smaller, darkened, dry on the surface, and firm throughout; depending on thickness and equipment, this commonly takes several hours, and you can rotate trays or the baking sheet if your appliance dries unevenly. For softer training pieces, stop when the ribbons are dry and leathery but not wet inside; for smaller crisp rewards, continue until they snap more readily.
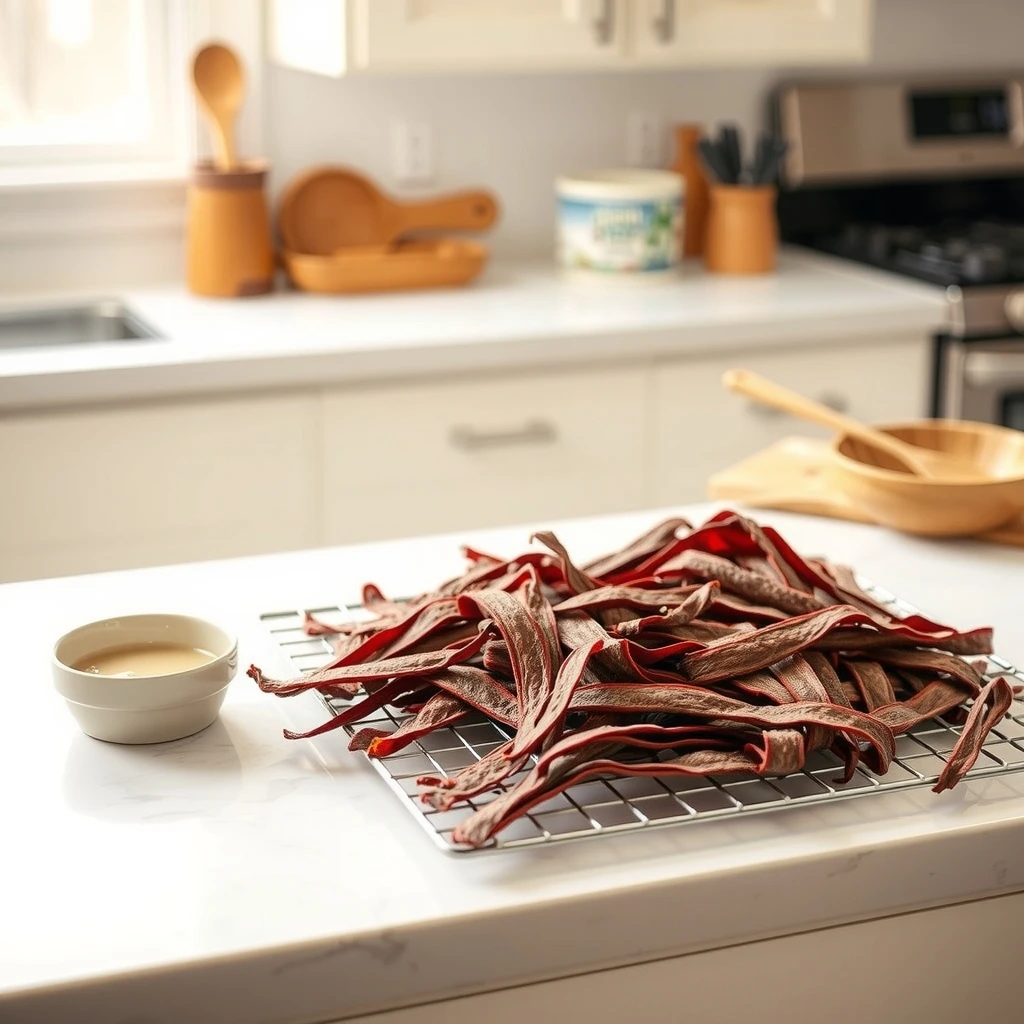
Cool, portion, and pack: Move the finished ribbons to a clean rack and let them cool completely before storing, then tear or cut one ribbon open to check that the center looks dry and cooked through, with no raw-looking or noticeably wet pocket. Once cool, cut or tear the ribbons into rewards appropriate for your dog; tiny training pieces are usually more useful than handing over a whole strip. Pack only fully cooled jerky into a clean airtight container because trapping warmth can create condensation, then refrigerate what you will use soon and freeze the rest in small portions.
Made this recipe?
Tap the paw so other pet parents know it’s worth making.
Be the first to make it
Tips & serving
Offer these beef ribbons as occasional treats or small training rewards, not as a complete or balanced meal. Tear them into portions suited to your dog's size and include treats within the dog's overall daily food intake. Introduce unfamiliar foods gradually. Major diet changes, or questions about whether beef fits your individual dog's diet, should be discussed with a veterinarian.
- Thin ribbons can be torn into tiny high-value rewards during frequent training sessions.
- Using a lean whole cut lets you control the ingredients and avoid unnecessary salt, sugar, and marinades.
- Slow drying creates a firmer texture that is different from biscuits and soft homemade treats.
- Partially chilling the beef before slicing makes it much easier to produce thin ribbons that dry at a similar rate.
- Trim visible fat carefully before cooking because lean muscle dries more evenly and is better suited to short-term homemade jerky storage.
- Keep ribbon thickness consistent so one batch does not contain brittle pieces alongside thicker sections that still hold unwanted moisture.
Storage
Cool the jerky completely before sealing it. Homemade jerky made without preservatives should not automatically be considered shelf stable. Thaw only the amount you expect to use soon in the refrigerator, rather than repeatedly thawing and refreezing the whole batch. Check stored jerky before serving.
Substitutions
Top round, eye of round, and other very lean boneless beef cuts can substitute for one another. Choose the leanest practical piece and trim visible fat thoroughly because fatty sections dry less predictably and shorten practical refrigerated storage. If you do not own a dehydrator, use an oven with a wire rack and the lowest reliable drying setting after the beef has first reached the required safe internal temperature. Drying time may vary considerably between ovens.
Dogs recipe FAQ
Can I serve this treat every day?
Treat it as an occasional extra, not a meal plan. Offer these beef ribbons as occasional treats or small training rewards, not as a complete or balanced meal.
Can dogs have lean beef?
This recipe uses lean beef in a small, dog-appropriate amount. Skip it if your dog has a known sensitivity, and read the foods-to-avoid note on this page before serving.
How do I store this treat?
Cool the jerky completely before sealing it. Refrigerate the finished ribbons in a clean airtight container and use them within about 3 to 4 days for the most conservative home-storage approach.
What's the safest way to try this with my dog?
Offer a small amount beside regular food, introduce one new recipe at a time, and watch appetite, stool, skin, and behavior for a day or two.
Can I make these beef jerky ribbons chewy instead of crisp?
Yes, but chewy should still mean thoroughly cooked and properly dried, not moist or raw in the center. Stop drying when the ribbons are firm, leathery, and dry throughout. Softer homemade jerky should be handled conservatively and kept refrigerated or frozen because retained moisture reduces storage reliability.
Why should I heat the beef before slowly drying it?
Low drying temperatures can remove moisture without necessarily heating raw meat quickly enough for food safety. Bringing the beef to at least 160 F first provides a clear safety checkpoint. After that, the slower drying stage is used mainly to remove moisture and develop the jerky texture.
Sources